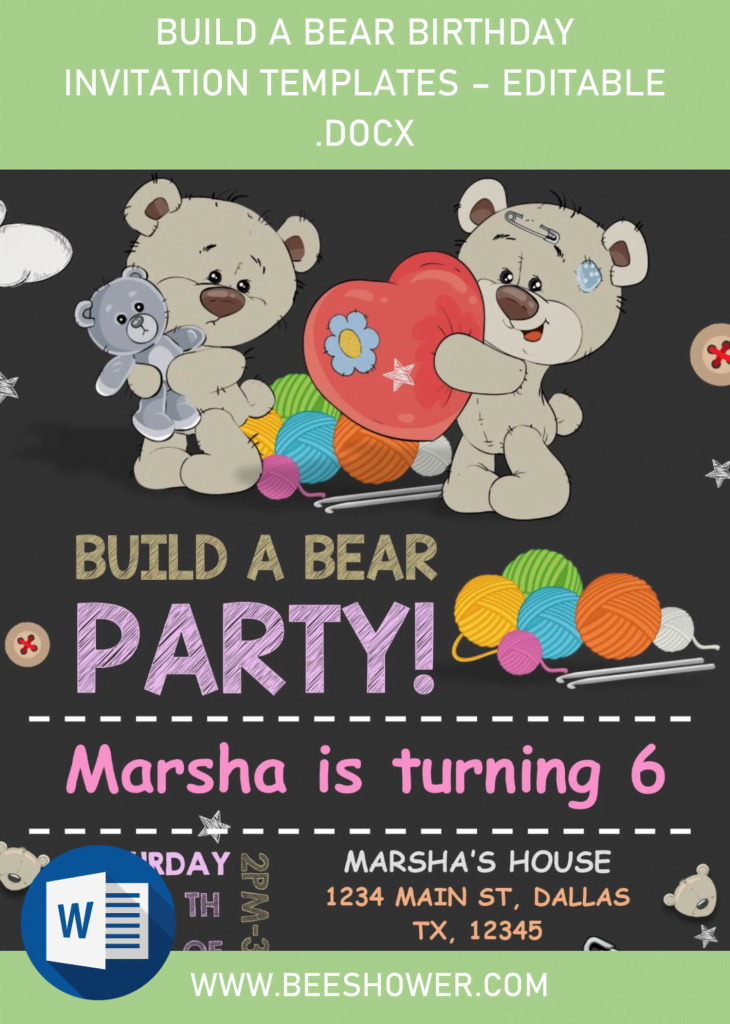
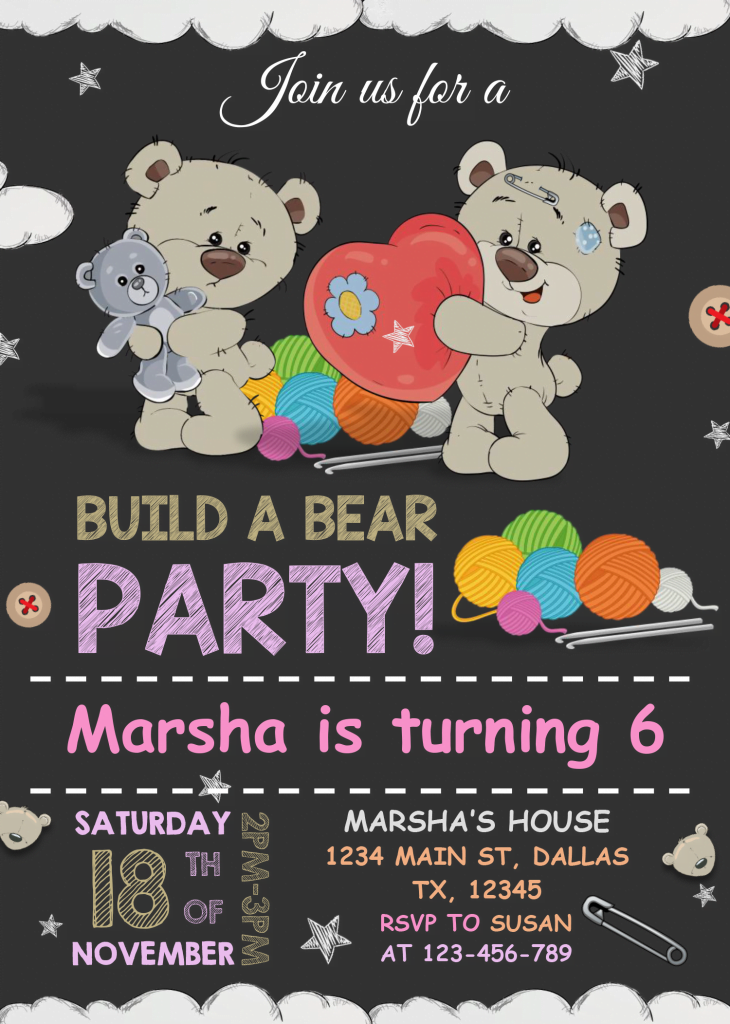
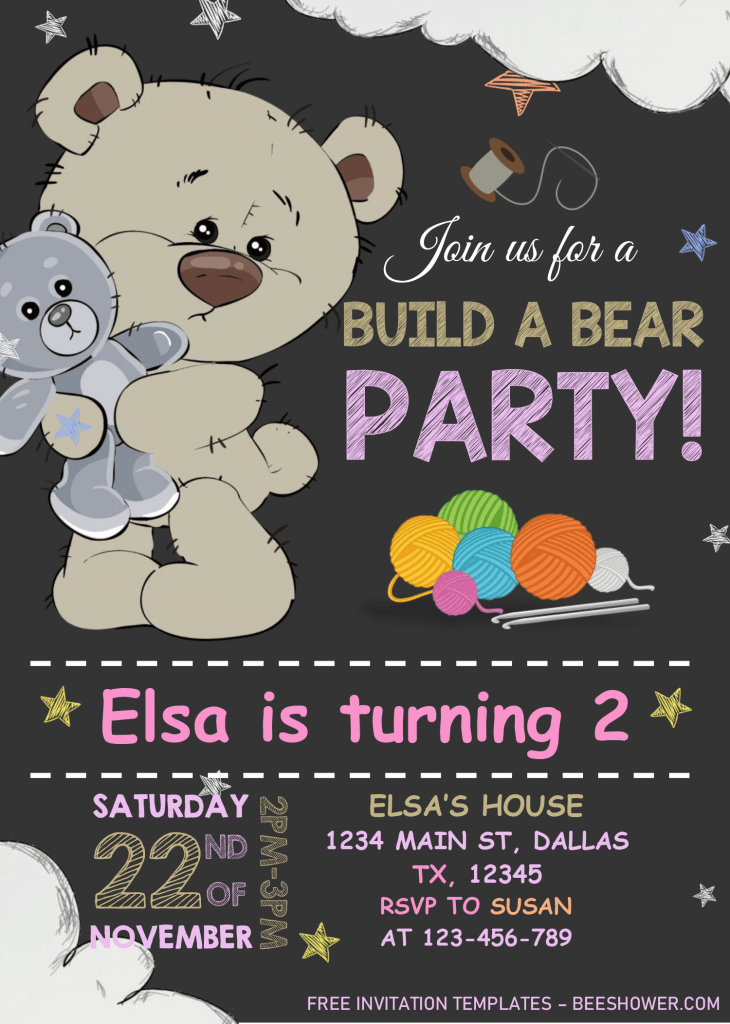
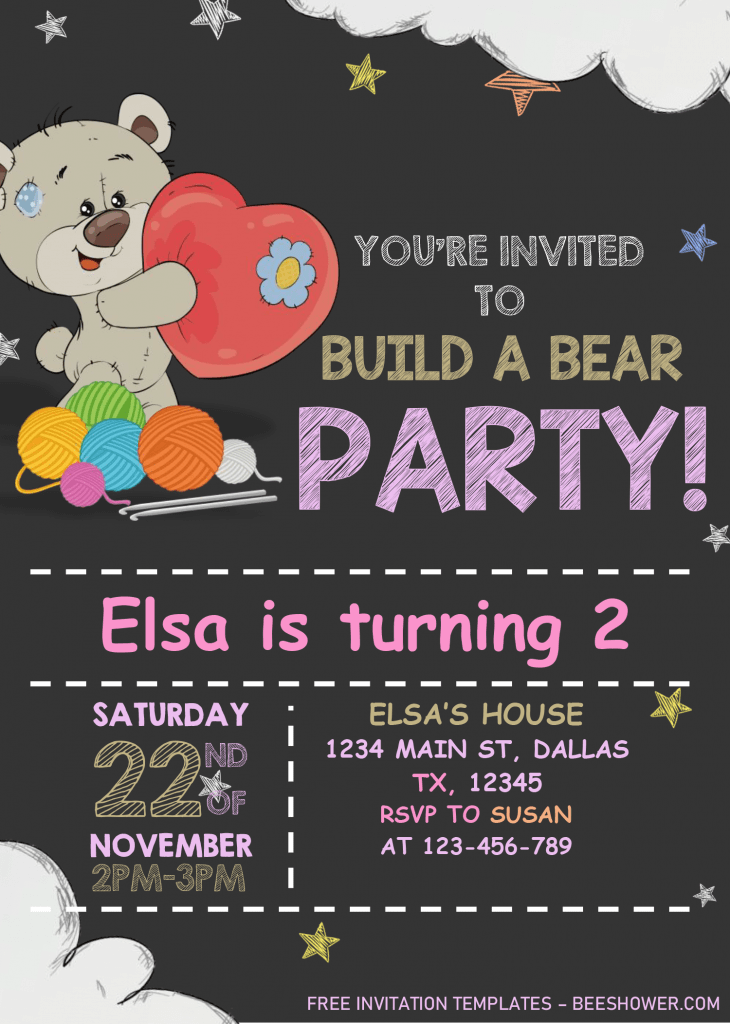
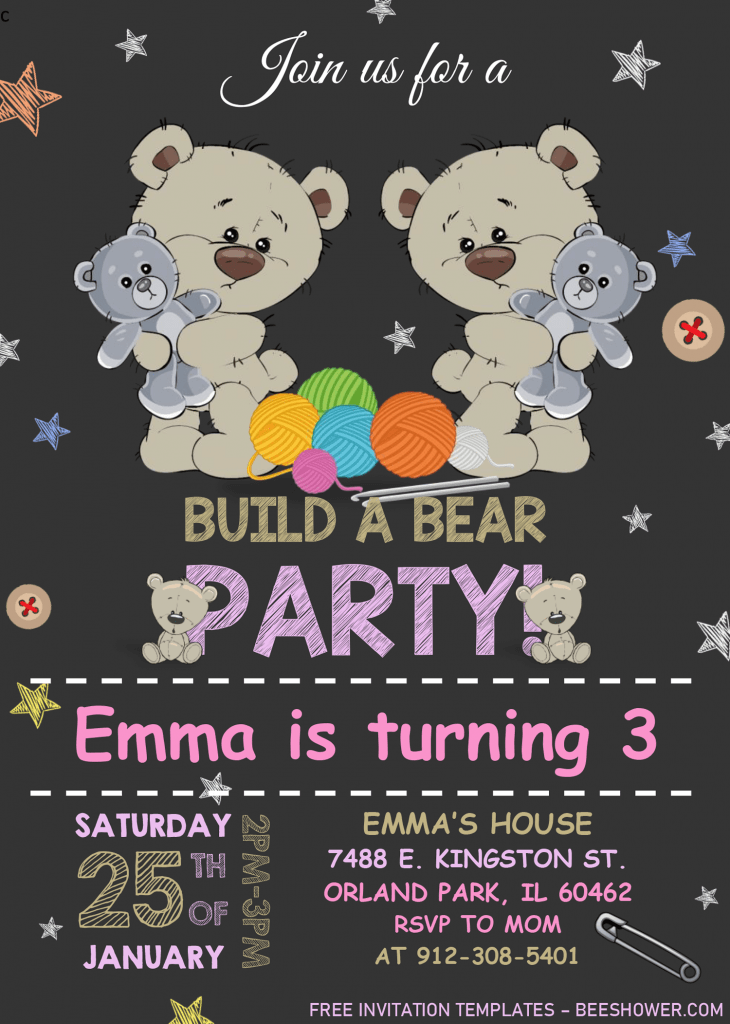
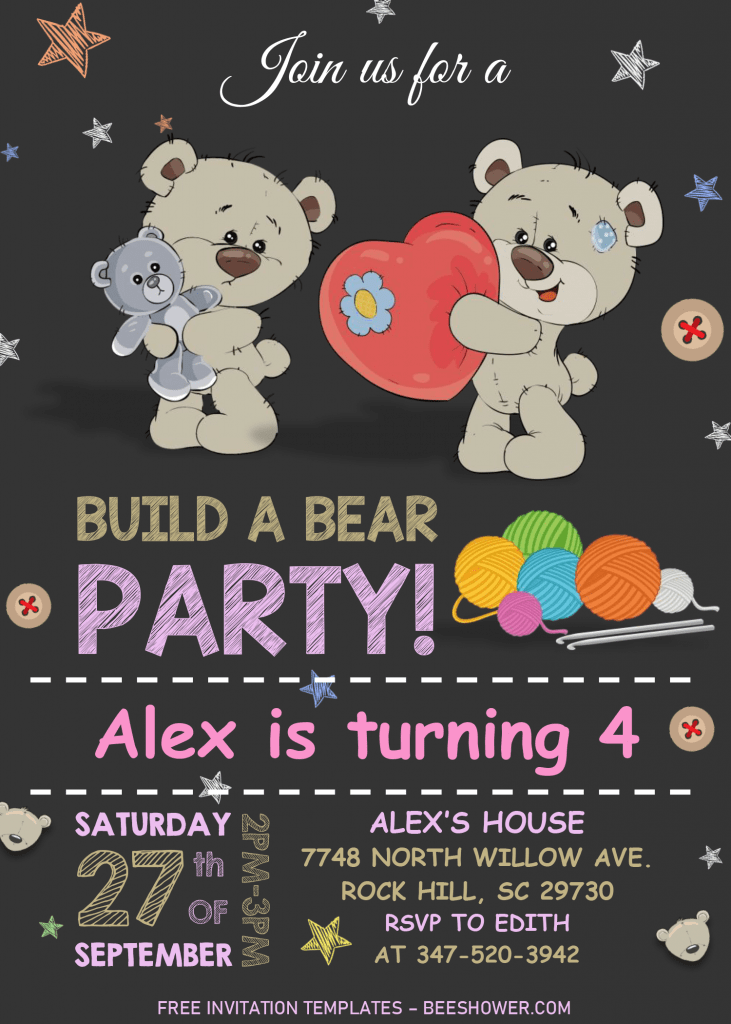
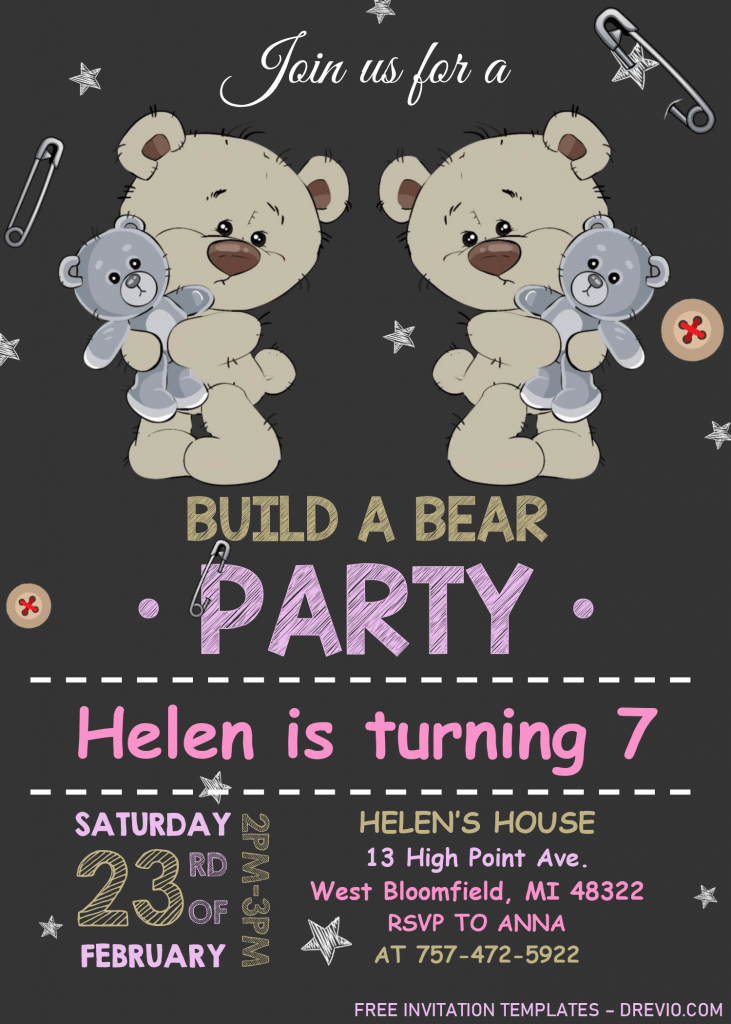
Build a bear party at home? Is it possible? Of course, but normally you have to do it at workshop or sort of. We can certainly do that, maybe we can make it far simpler, like we also provide the stuff (Teddy Bear Doll) in the finished form, so we only have to “beautify” it with some knick-knacks.
By the way, I’ve got a couple of templates, and sure, it would be perfectly fit for you, as it has the same concept (Build a Bear themed invitation card). It comes in six models and all of them are editable with Microsoft Word. Despite it’s free, it will be much easier for you to customize it. Let’s talk a bit about the details, this portrait orientation card has Blackboard style background design, and on top of it, the card was decorated with many stuffs. For example, “Chalk-drawing” images, like Stars, dash-lines, along with the adorable pairs of Teddy Bear graphics.
By using this template, I’m pretty sure that everyone will be amazed when they see this cute invitation, even they just had received it. By the way, if you want to keep this one as your party invitation card, I’ve placed the download instruction in down below, so make sure you’re going to check it.
DOWNLOAD BUILD A BEAR .DOCX HERE
Download Instructions
- Click the download button (Above)
- Google drive page will appear soon, once it shows the download button, click that button.
- Locate where the template files are going to be placed in your device.
- Tap “Enter” and now the download process will begin shortly.
How to open and edit the file
- You need to extract the file (using WinRAR), then Go to Fonts Folder > Install all fonts.
- To edit the file, you must have Microsoft Word, latest version would be better, or at least 2007 version above.
- To add new text or picture, you have to add another text-box, so it can be moveable.
- To add new Text-Box, Go to Insert > Text Box (Click the drop-down arrow) > Simple Text Box.
- After that, click the center of the box, and now you can type your own text.

